|
Keys Authentication
2010/07/18 |
| Configure SSH server to login with Keys Authentication. It is needed for it to make private key for client and public key for server.
|
| [1] | Download 'puttygen.exe' from Putty's site.
|
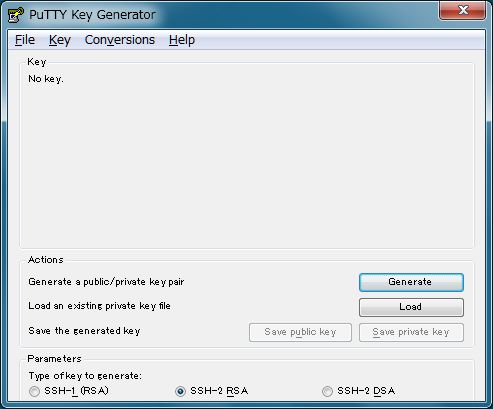
| [2] | Run 'puttygen.exe' and click 'Generate' button. |
|
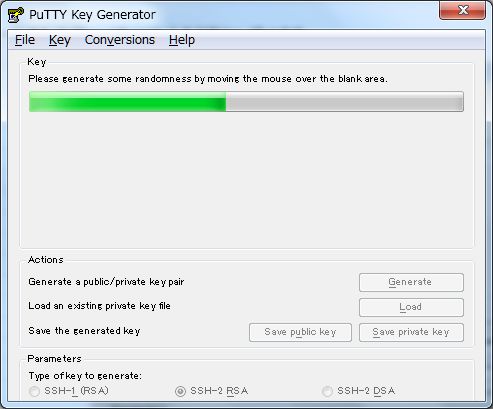
| [3] | Move mouse untill progress bar will be full. |
|
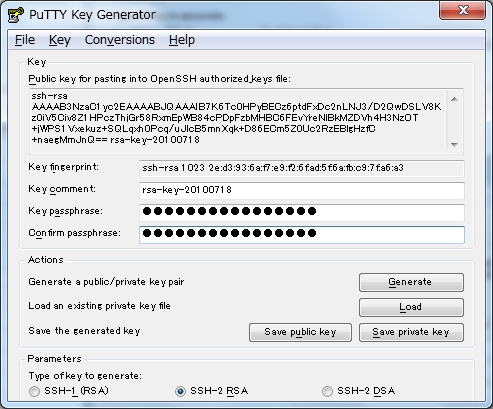
| [4] | Set passphrase in 'Key passphrase' and 'Confirm passphrase'. Next, Click 'Save public key' and 'Save private key' and Save keys with a file name you want. |
|
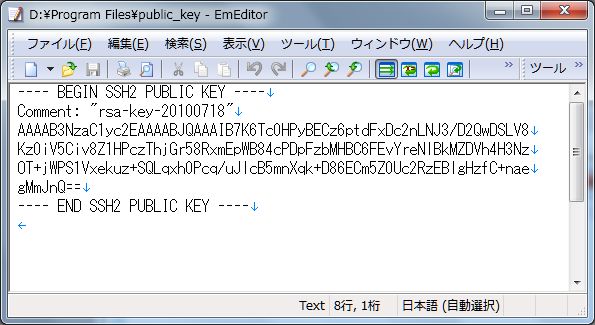
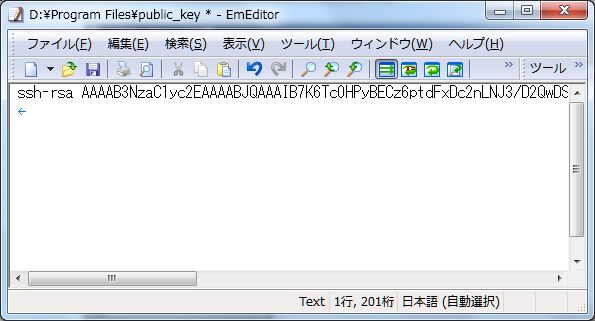
| [5] | Open 'public_key' you saved. |
|
| Remove first line and last line and replace second line to 'ssh-rsa' and then remove all indention like follows. 'ssh-rsa xxxxxxxxxxxxxxxxxxxxxxxxxxxxxxxxxxxxxxxxxxxxxxxx==' |
|
|
| [6] | Login with a user and put 'public_key'. |
|
lucid@ubuntu:~$ mkdir .ssh lucid@ubuntu:~$ chmod 700 .ssh lucid@ubuntu:~$ cd .ssh lucid@ubuntu:~/.ssh$ vi authorized_keys # Copy and Paste 'public_key' ssh-rsa xxxxxxxxxxxxxxxxxxxxxxxxxxxxxxxxxxxxxxxxxxxxxxxx== lucid@ubuntu:~/.ssh$ chmod 600 authorized_keys lucid@ubuntu:~/.ssh$ su - Password: root@ubuntu:~# vi /etc/ssh/sshd_config # line 50: uncomment and change PasswordAuthentication no root@ubuntu:~# /etc/init.d/ssh restart * Restarting OpenBSD Secure Shell server sshd [ OK ] |
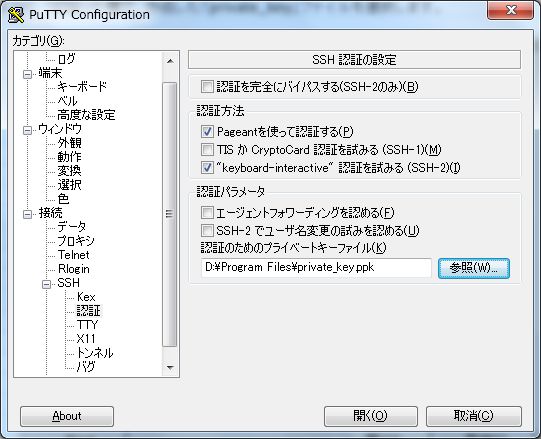
| [7] | Run Putty and select 'private_key' like follows. |
|
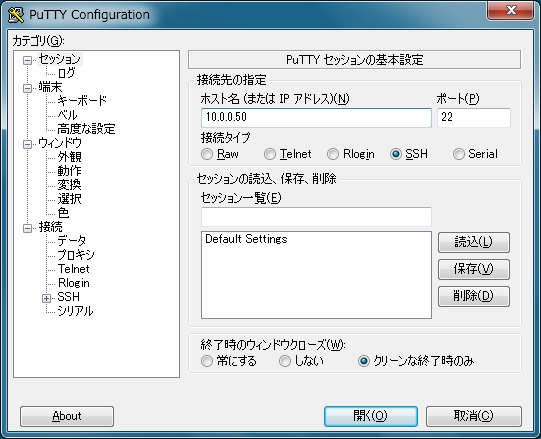
| [8] | All OK, connect to the server with keys authentication. |
|
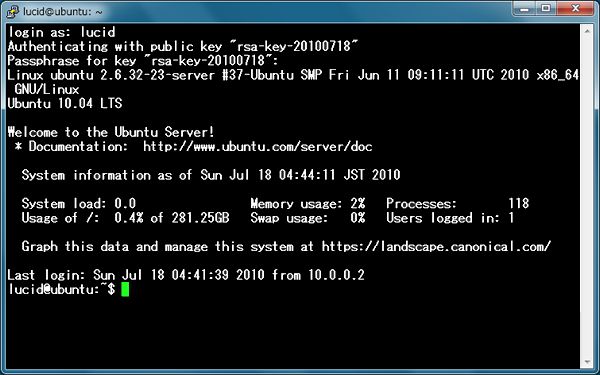
| [9] | Passphrase you set is required to input fpr login. After inputiing correct one, it's possible to login like below. |
|